Velo Setup
This guide is a compilation of various posts in this thread. I decided to make this guide because I ran in to a lot of weird issues where commands didn’t work or I had to do more investigation on the information provided. That said, the thread was very helpful and pointed me in the right directions to get things working. The steps below are how I got the BIOS updated and OPNsense installed. The hardest part was getting DiagOS installed to update the BIOS. Once you get DiagOS installed and booting correctly you should be golden. The latest downloads for the VEP1400 series devices can be found here
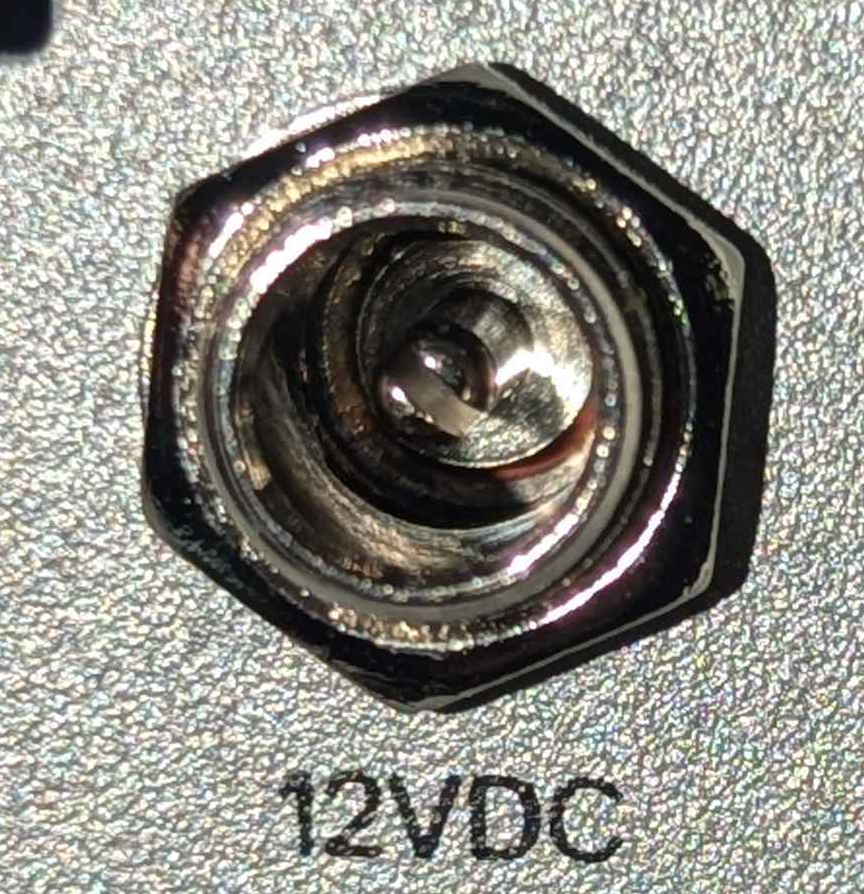
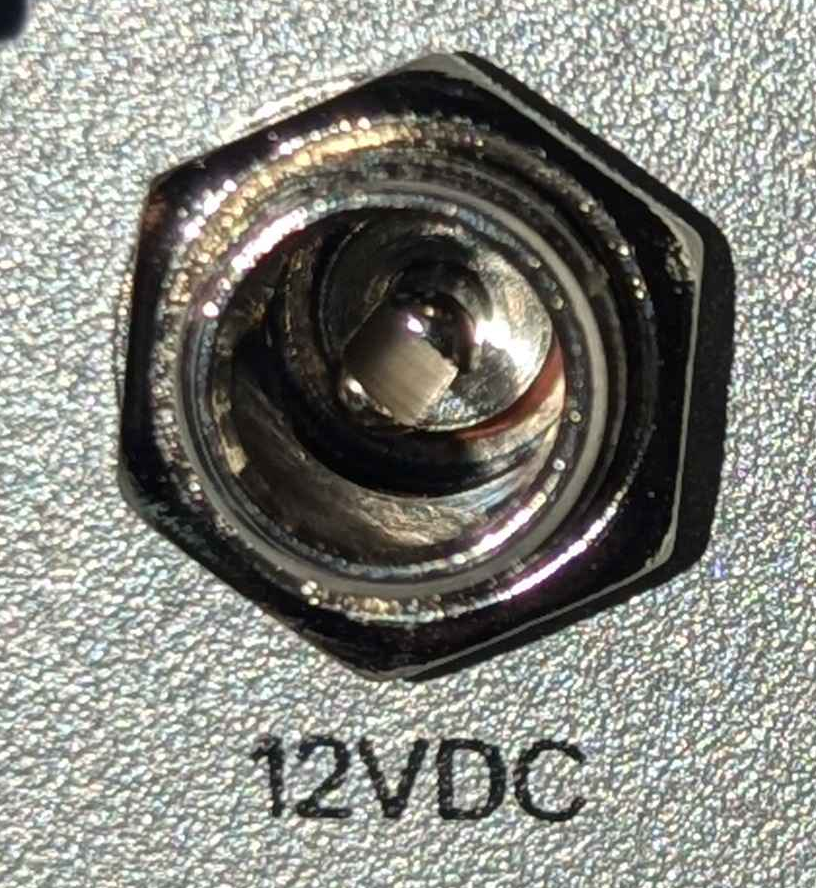
- If the device won’t power on, try spreading apart the power pin in on the Velo with a tiny flat head screw driver. I had to go pretty aggressive for it to make a good contact but don’t go too crazy with it
- Install the drivers for the CP2102 that is built in to the Velo
- Download PuTTY or your favorite serial port terminal
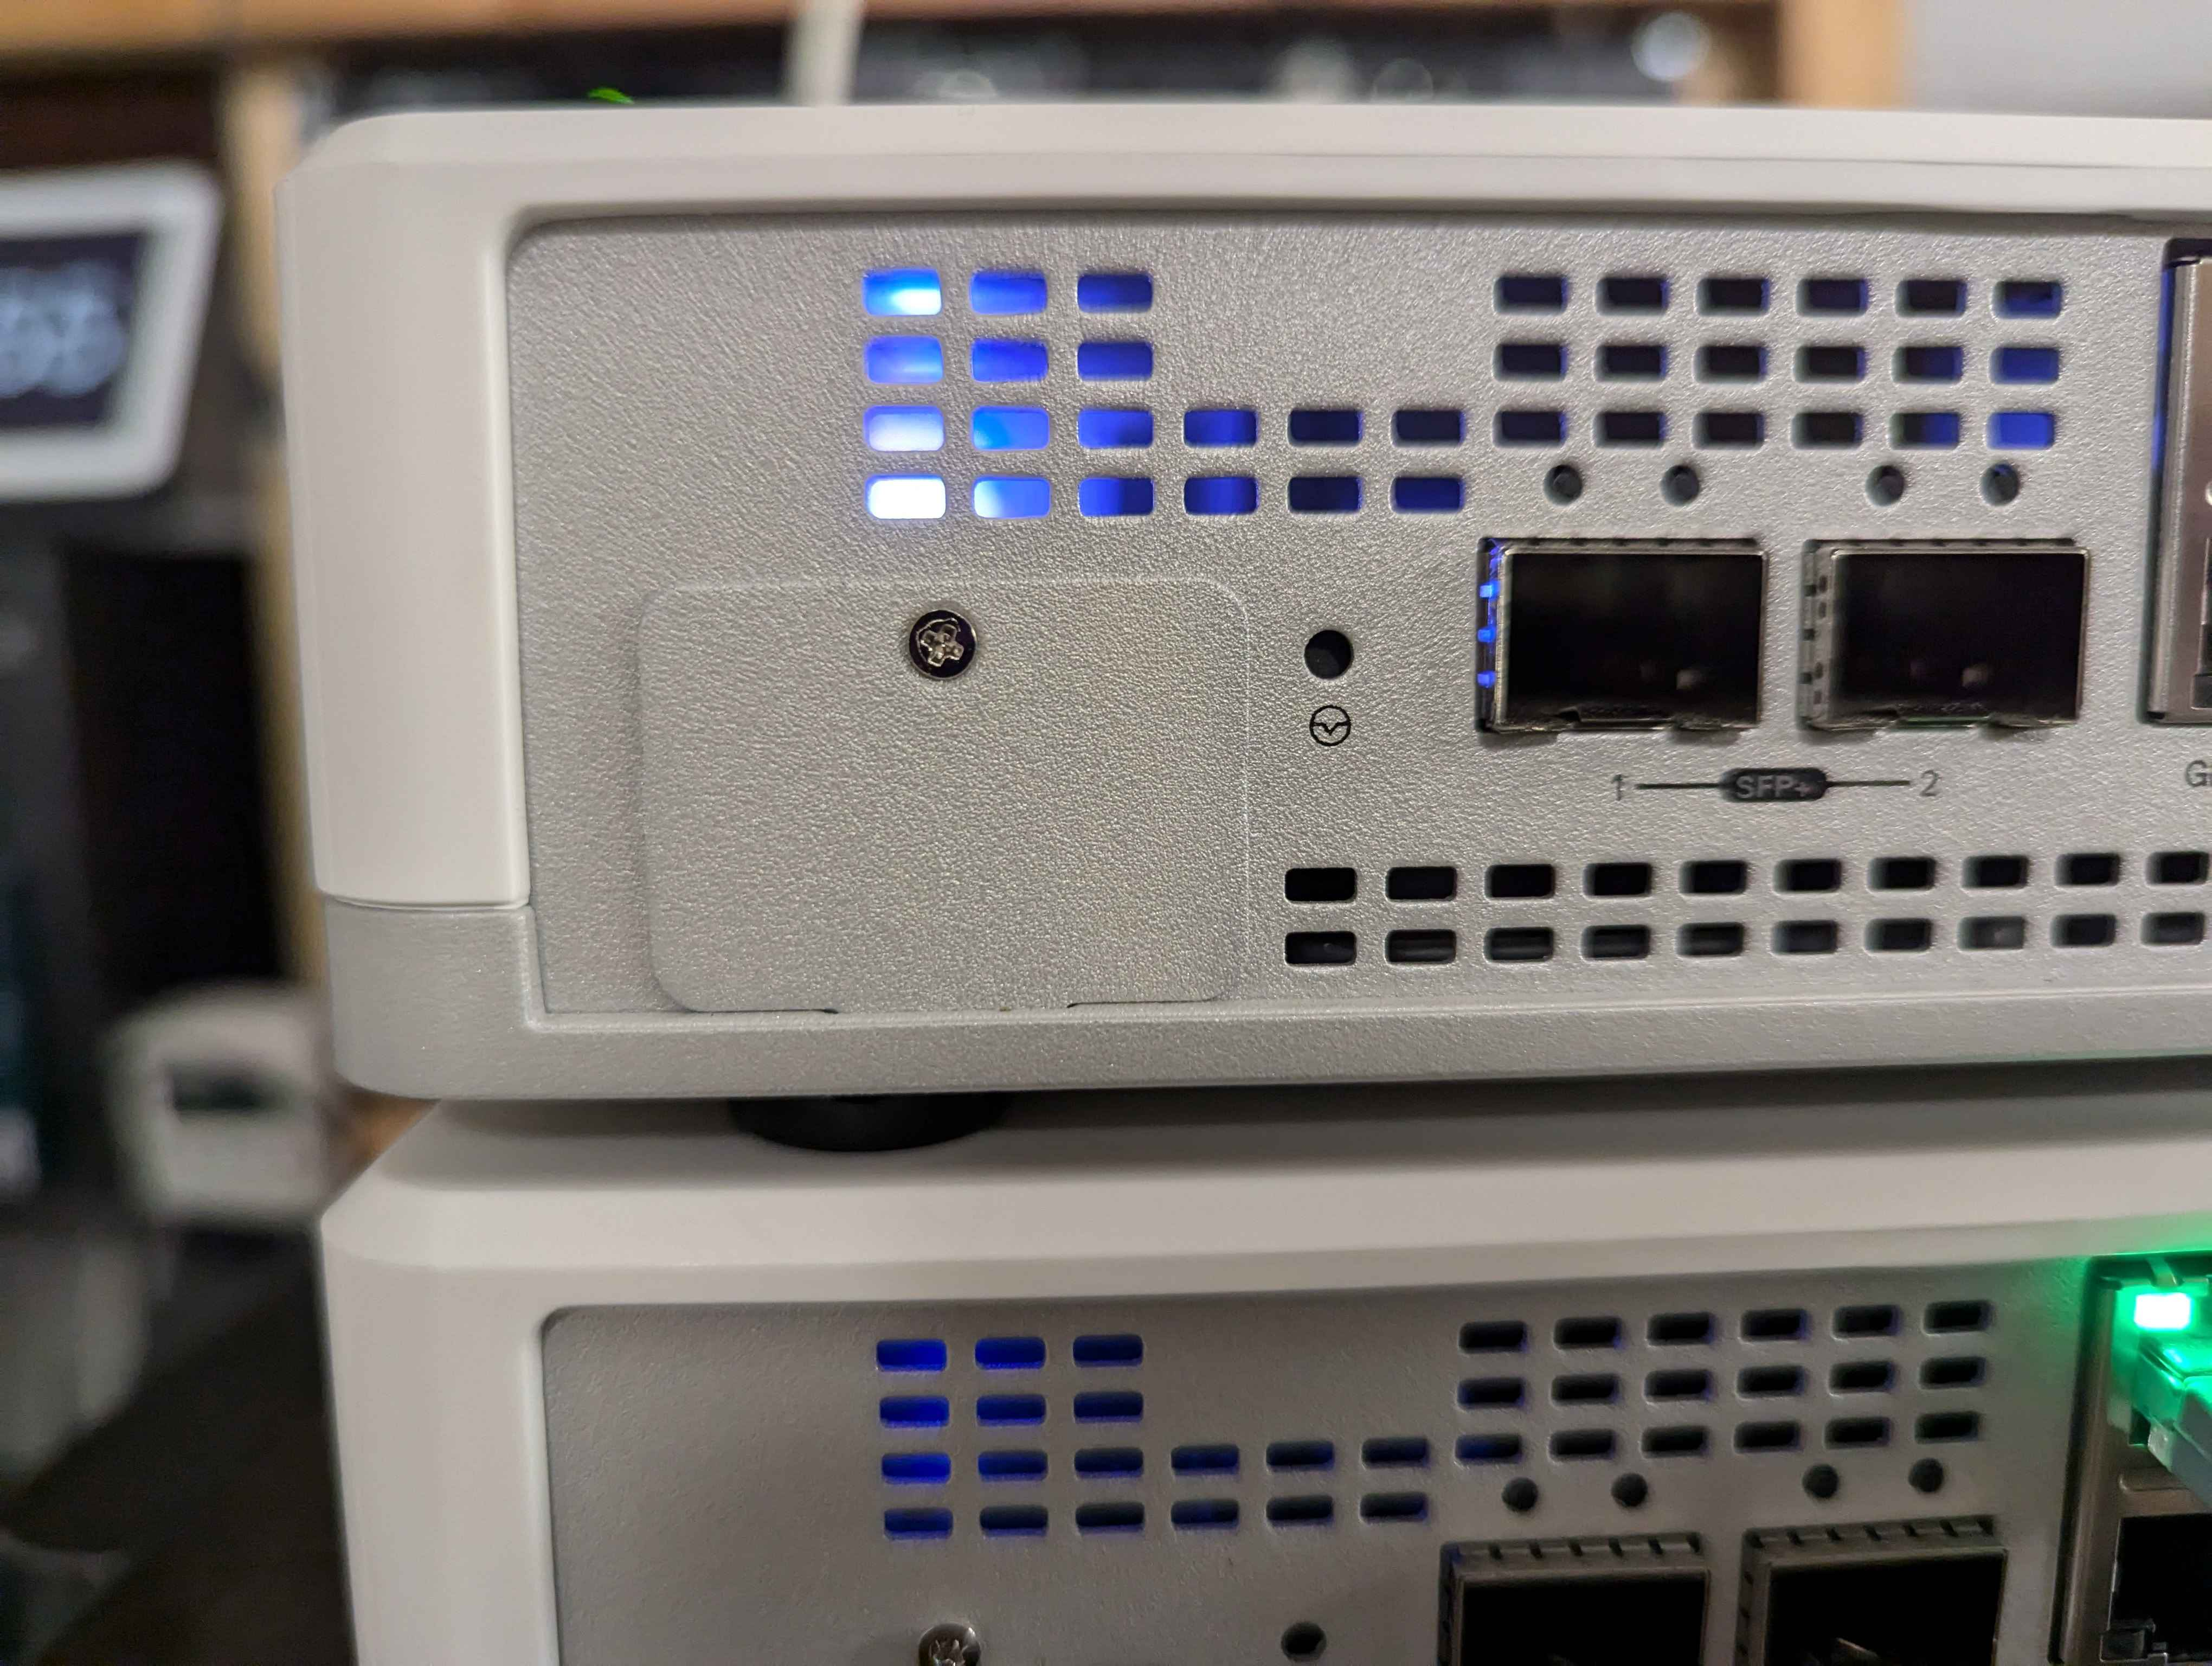
- Take the plate off the back that covers the console port. It’s a single screw
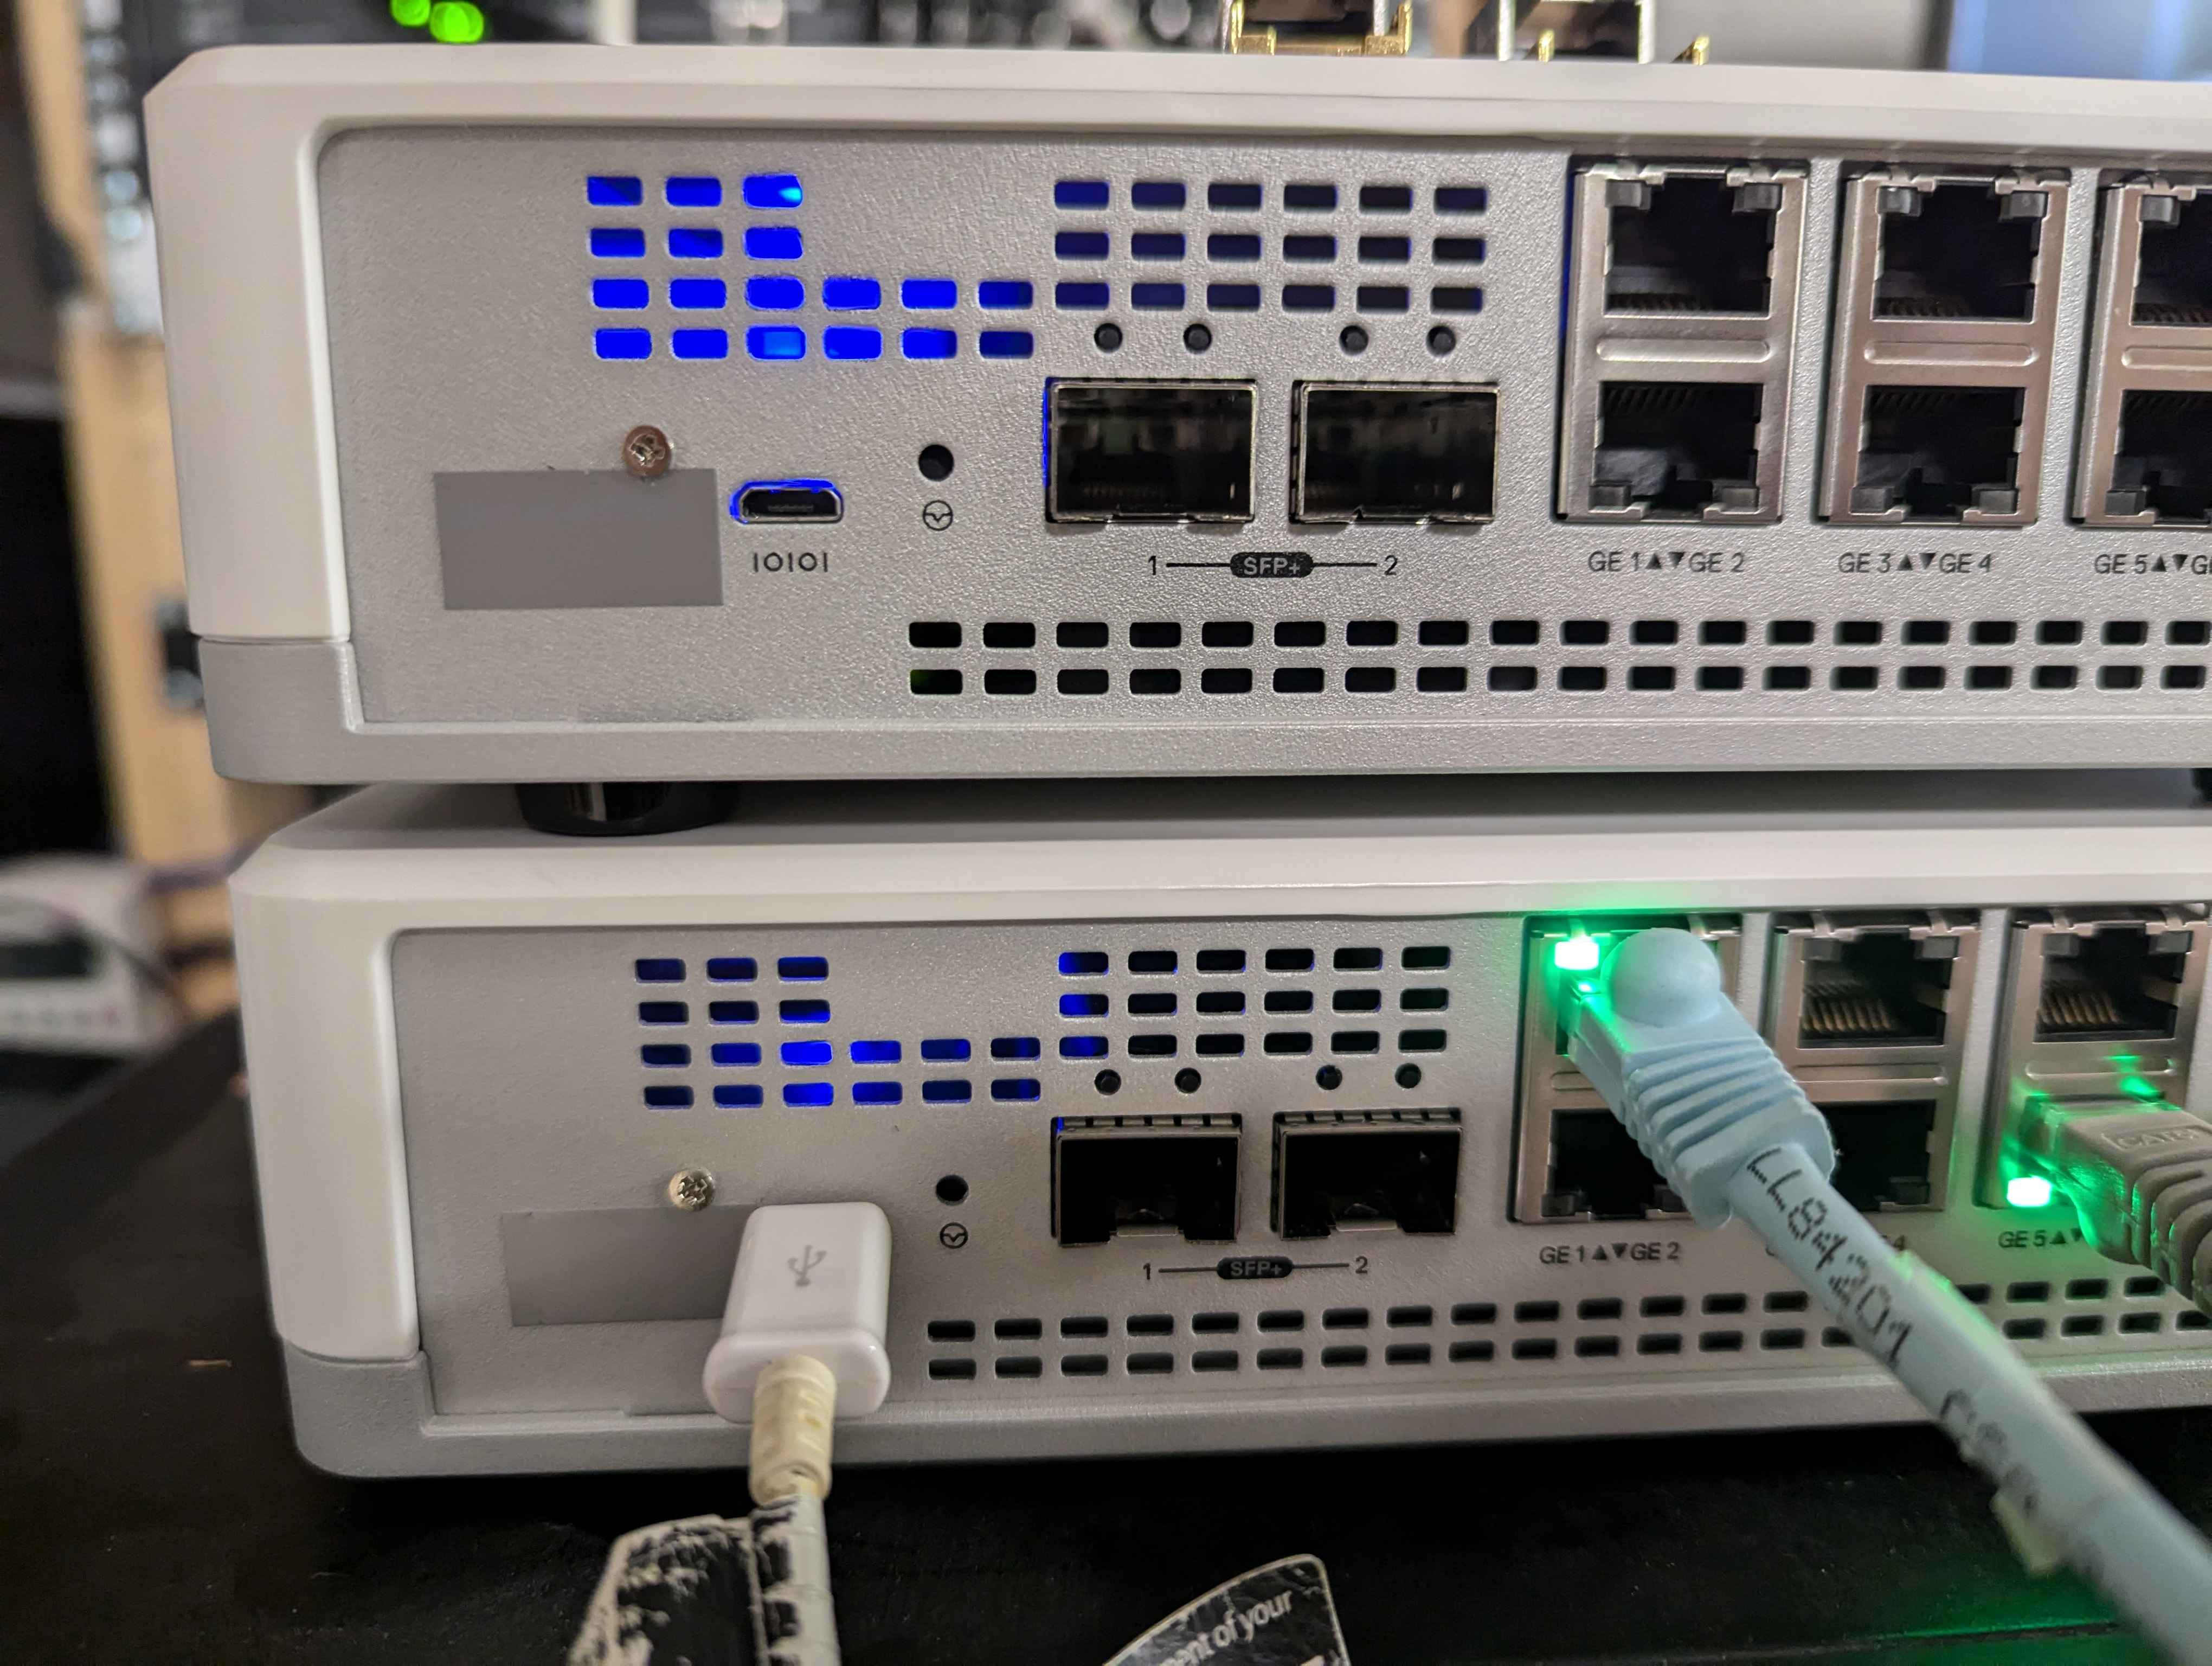
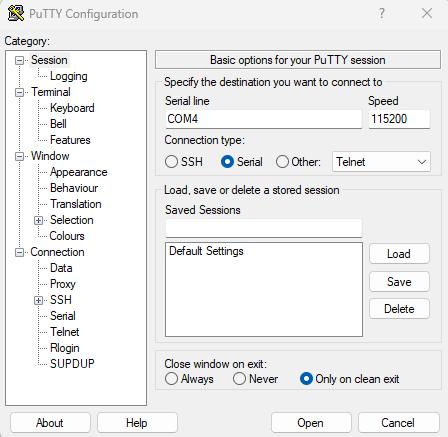
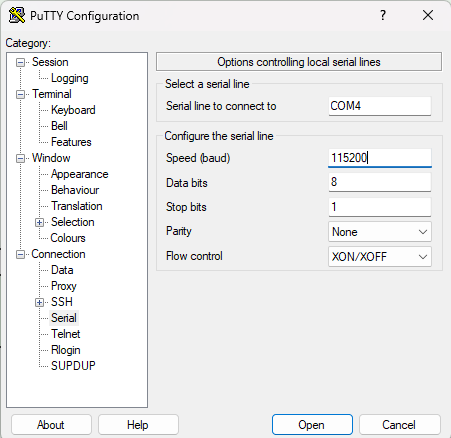
- Plug the Velo in to your computer (you will need a USB A to Micro USB cable that has the data pins) and go to device manager. If the drivers do not install automatically, right click the new device that is missing the driver and update it from the driver you downloaded in step 2. Once the driver is installed take note of the COM port number and use that in PuTTY to connect. Use these settings, substituting the COM port for your COM port
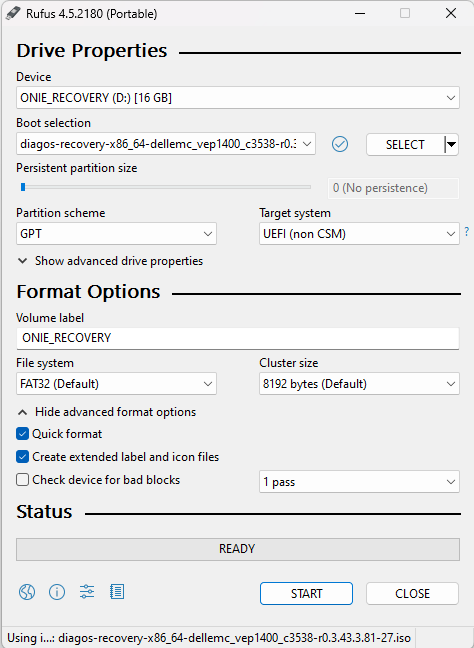
- Burn diagos-recovery-x86_64-dellemc_vep1400_c3538-r0.3.43.3.81-27.zip to a USB disk with Rufus
MAKE SURE TO SET TARGET SYSTEM TO UEFI OR INSTALL TO eMMC WILL FAIL!!! I wasted hours on this. I verified without a doubt this is the cause by setting up 2 other Velo 640’s using the same steps
- Download the BIOS image VEP1400_UFW2.5_External.zip (expand Available formats) and put the extracted directory on the root of your DiagOS USB disk
- Download the SSD Firmware image Linux_DLMC2b_SFDN004E_20220315.zip You have to download the
SSD-firmware-updater-eula.pdfand click Accept at the bottom, or just use this direct link. Put the extracted directory on the root of your DiagOS USB disk - The key to a successful DiagOS install to the eMMC is booting the DiagOS Installer USB as UEFI. If it still fails, some people suggest Finnix, a live Linux distro, to delete all partitions on the eMMC using
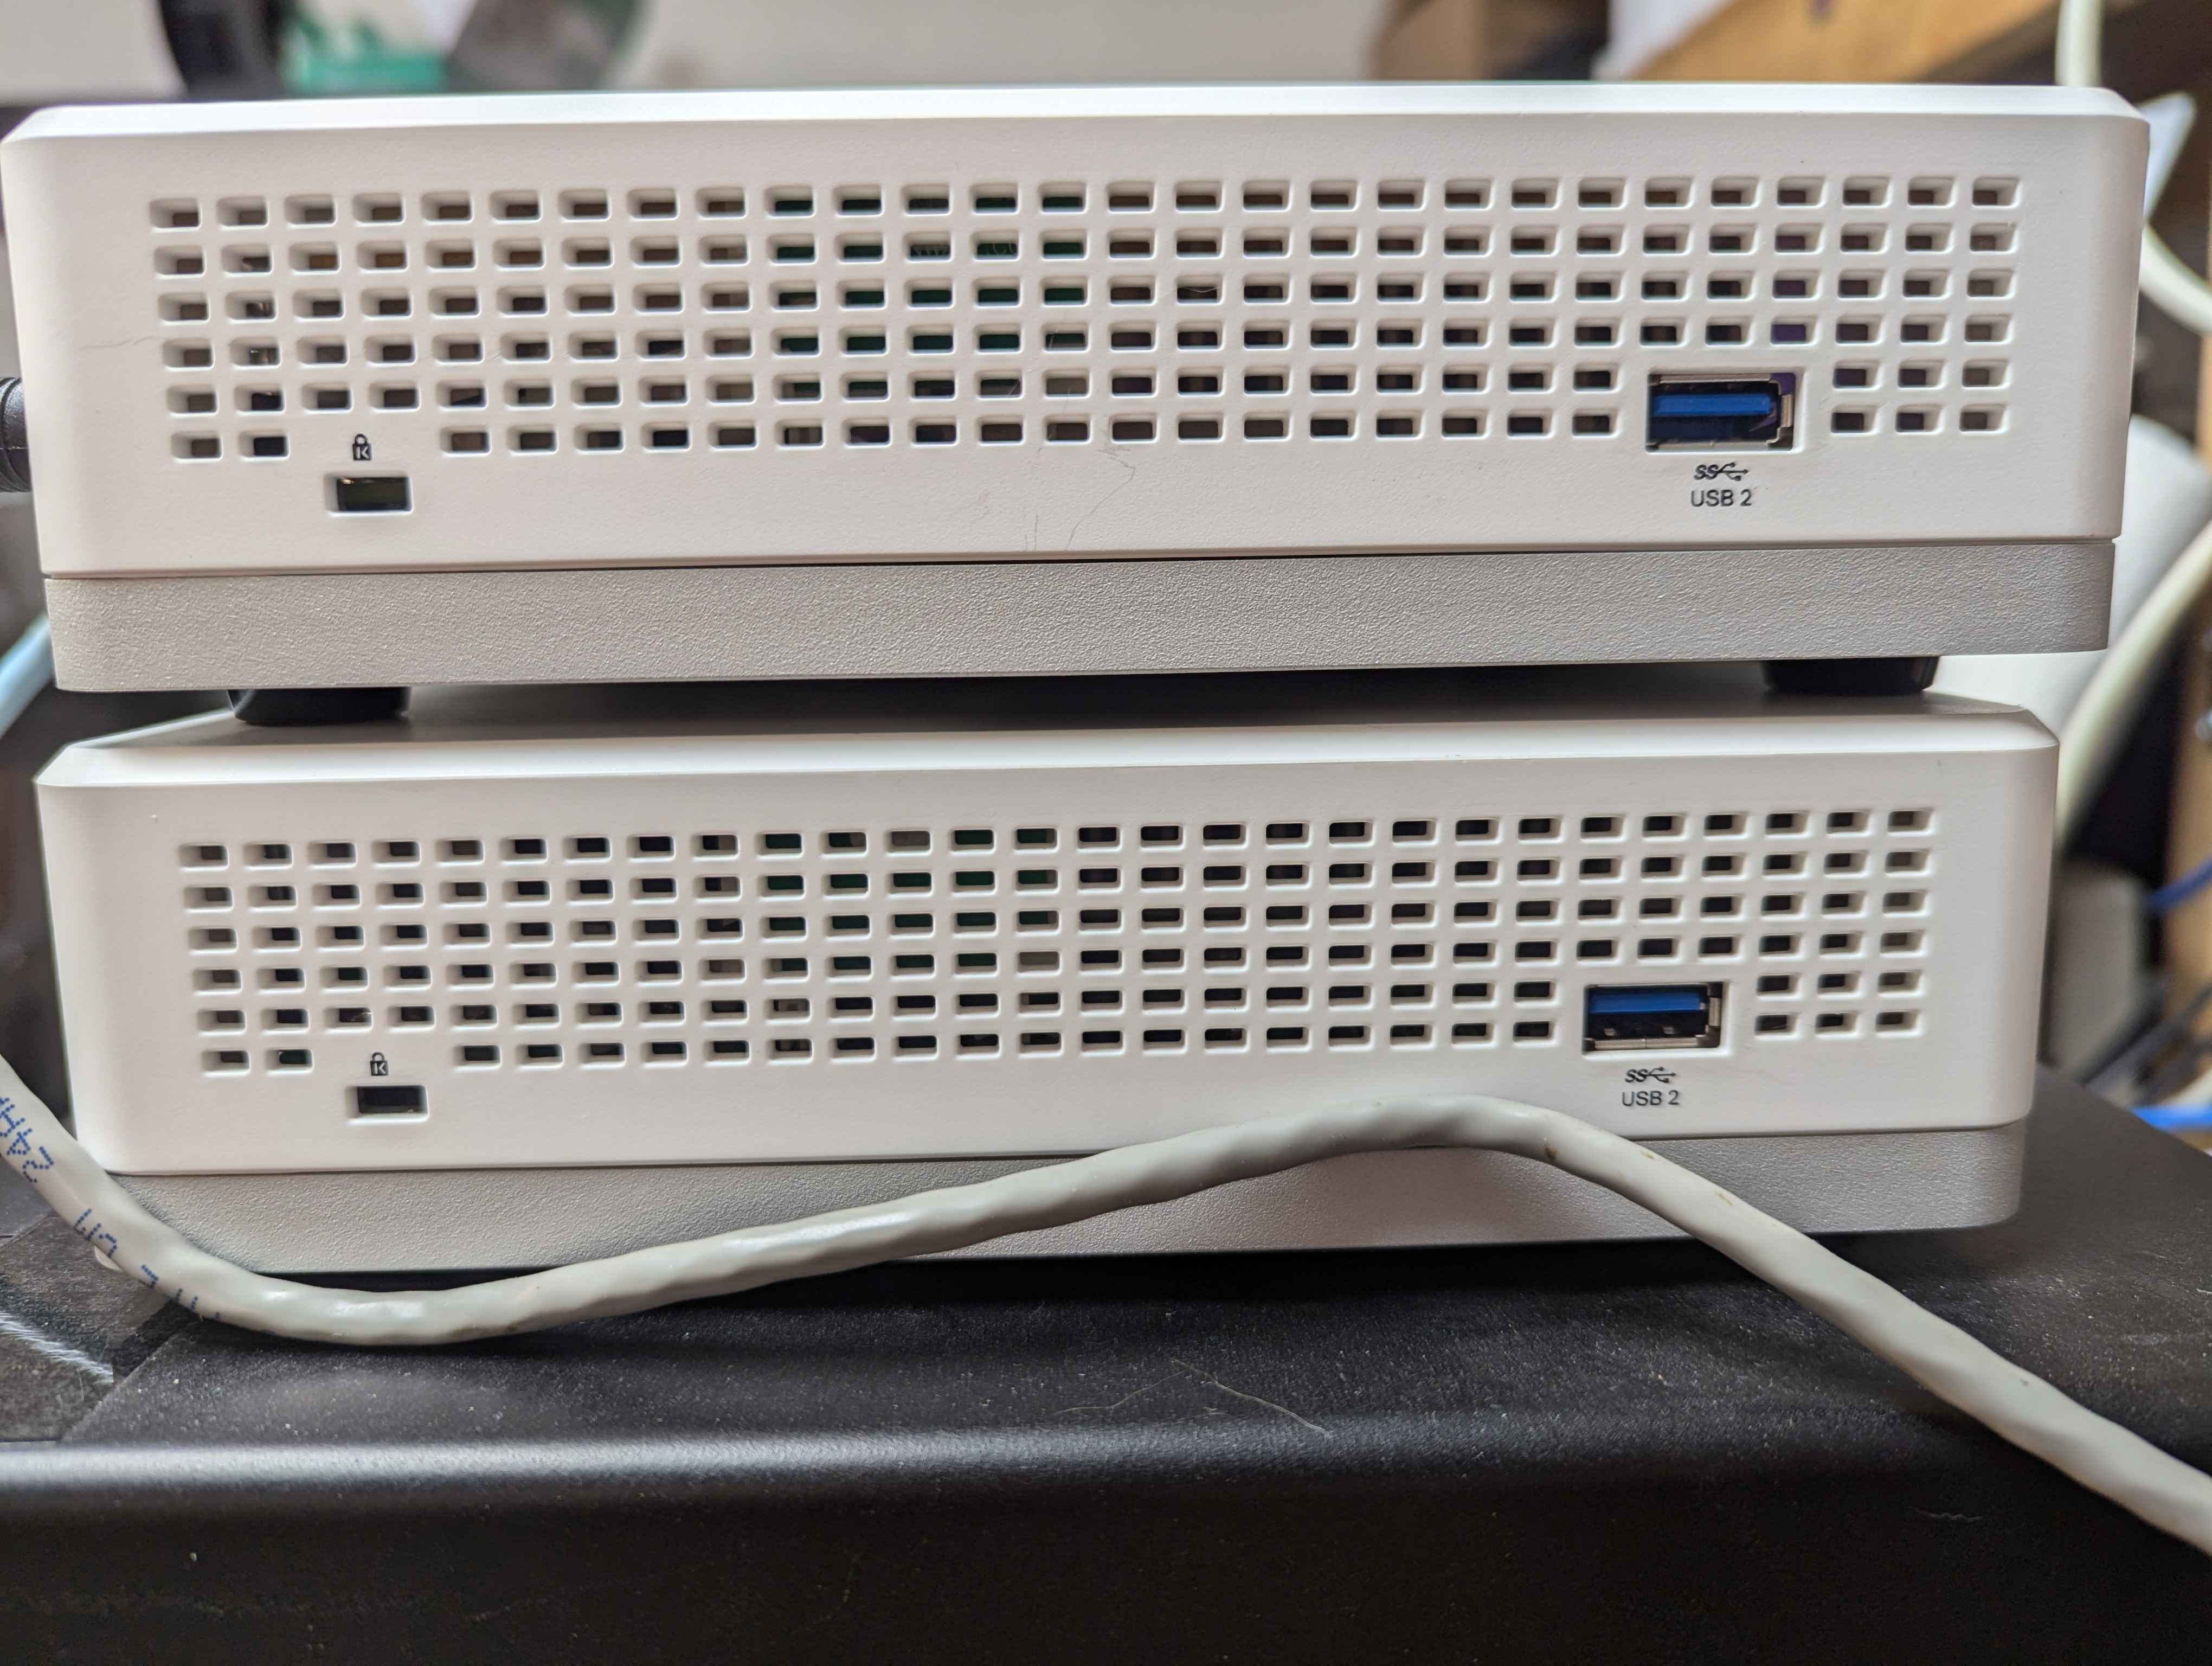
sfdisk --delete /dev/mmcblk0and any other device that starts with/dev/mmcblk0 - Insert the DiagOS installation USB disk you made in one of the 2 side USB A ports and boot from it
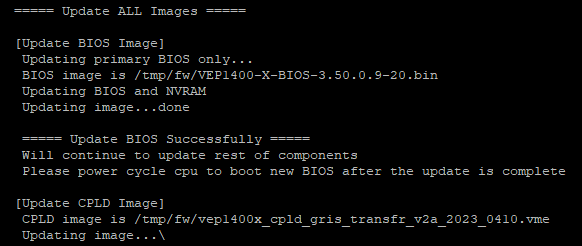
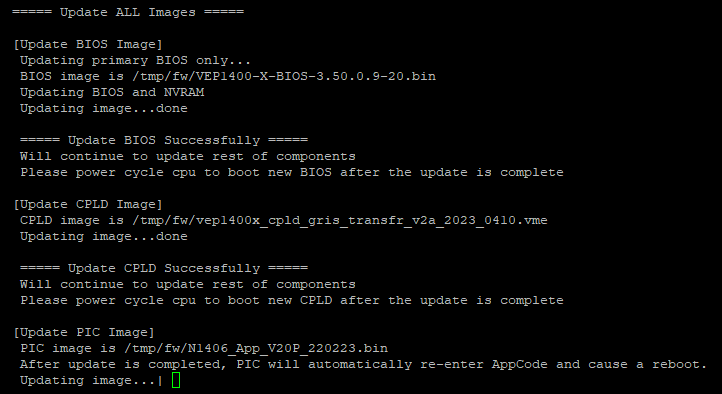
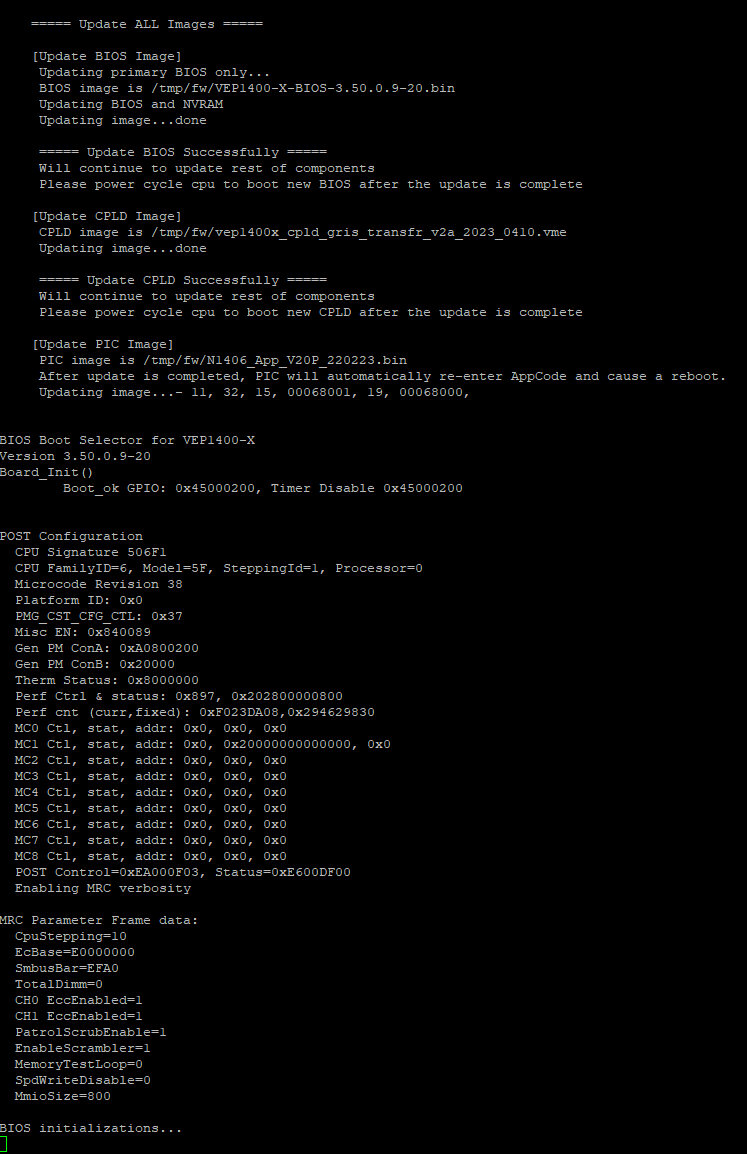
- After the DiagOS installer boots, select option 3 to install to eMMC. This will take a minute or two and the device with automatically reboot when it’s done. When you see the memory test running, unplug the USB disk so it boots from the eMMC, or just go to the BIOS and select the eMMC as the boot option. A successful install should look like this DiagOS Installer Output
Until you get the BIOS upgraded, any time you have a terminal prompt the first thing you should do is paste in
i2cset -y 1 0x22 0 0 bso the watchdog doesn’t reboot the device every 5 minutes. After the BIOS is upgraded you don’t need to do this any more- If the install still fails, create a USB boot disk for Finnix (above) and edit boot/grub/grub.cfg. Add the following to the end of line 5
console=tty0 console=ttyS0,115200n8. It should look like this - Use the
sfdiskcommands above to delete all the partitions and try the install againThis grub setting should work for pretty much any distro, however, i2cset isn’t available on pretty much anything by default so be aware that it WILL reboot at a set interval until the BIOS is updated. Don’t do anything important without the watchdog disabled and always do a cold boot or wait for a watchdog reset to attempt the partition deletions to give yourself enough time to do it
- If the install still fails, create a USB boot disk for Finnix (above) and edit boot/grub/grub.cfg. Add the following to the end of line 5
- Once DiagOS is installed on the eMMC and booted, log in with the default username and password
root:calvin - Plug in the DiagOS USB installer drive again if you took it out then mount it
mkdir -p /mnt/sdb1mount /dev/sdb1 /mnt/sdb1
- Copy the firmware file to
/rootIf you don’t copy to and run from
/rootthe update will failcp /mnt/sdb1/VEP1400_UFW2.5_External/vep1400x_ufw_2.5 /rootcp -r /mnt/sdb1/Linux_DLMC2b_SFDN004E_20220315 /root
- Change to the
/rootdirectory if you are not already therecd /root
- Flash the new BIOS
./vep1400x_ufw_2.5 interactive- Choose to Automatically update all firmware components
If you don’t update everything you could have stability issues
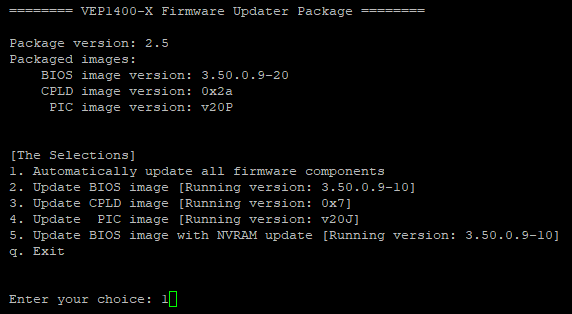
In the versions that are listed, the BIOS version is the number after the -. In my case I’m going from version 10 to version 20. The prefix is the same for every BIOS version.
vep1400x_ufw_2.5contains multiple BIOS versions for for the 600 line, so the prefix may not be the same for you
- You will be prompted to reboot the device, go ahead and reboot
- After the reboot, run the BIOS updater again from
/root, select option 1 to automatically update all firmware components, and it will pick up where it left off - Install the SSD Firmware if needed
- Boot to DiagOS and log in
- Run this command to check your SSD firmware version
- If you didn’t copy the SSD firmware files to the eMMC in the BIOS update section, mount the flash drive and copy them now
mount /dev/sdb1 /mnt/sdb1- Copy the files from the flash drive to
/rootcp -r /mnt/sdb1/Linux_DLMC2b_SFDN004E_20220315 /root
- Change to the directory you copied
cd /root/Linux_DLMC2b_SFDN004E_20220315
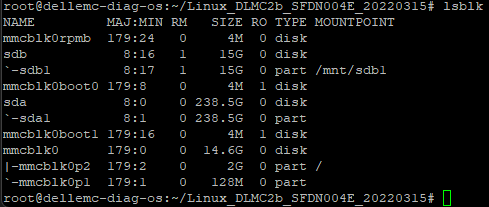
- Use lsblk to identify your SSD
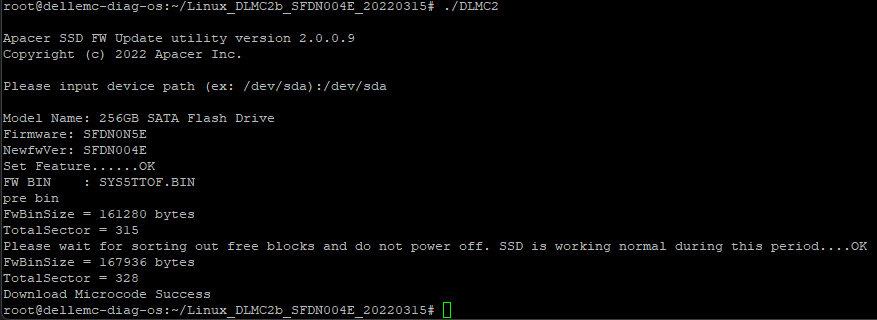
- Execute the updater
- After a while it will tell you it was successful. It takes a minute or two
- At this point all the firmware is updated. Reboot and unplug your USB disk when it gets to the memory test, you won’t need this USB installer disk any more
- After it reboots, hold in the reset button until you see
Factory Reset!!. Some people have reported that they don’t see all their network interfaces until this is done, some also said they had to hit the reset button on the top of the board near the network ports. I held the reset button and everything worked fine first try for me on a 640 but on a 640N even after holding the reset button on the back OPNsense only saw the 2 SPF+ ports. Instructions for resetting the BIOS are here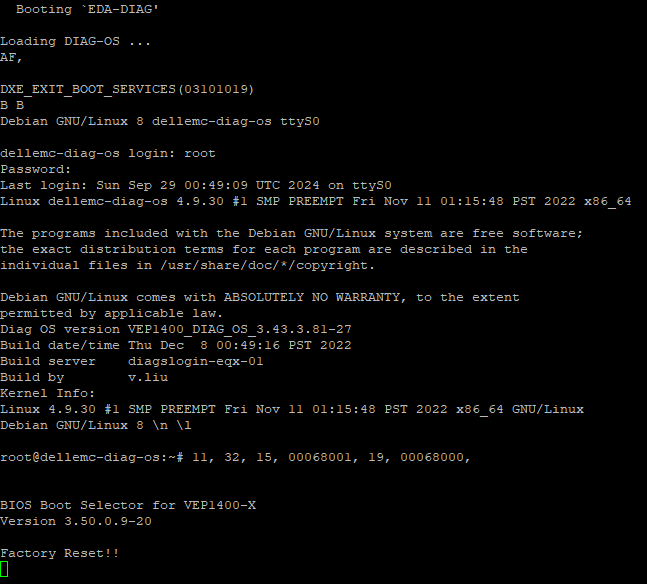
You will see
Factory Reset!!on every boot. It doesn’t appear to actually be resetting anything. This must be a bug, or simply a warning to tell you it has been reset with the reset button. If you follow the steps here to reset the BIOS, this warning will also go away
- Go in to the BIOS and update settings. If it asks you for a password, the default password is the service tag with an ! on the end ex.
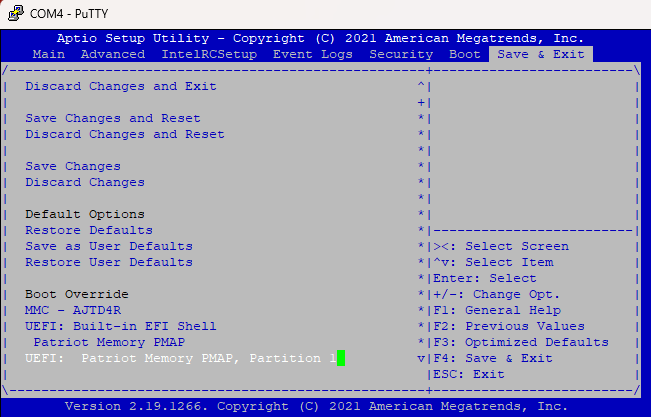
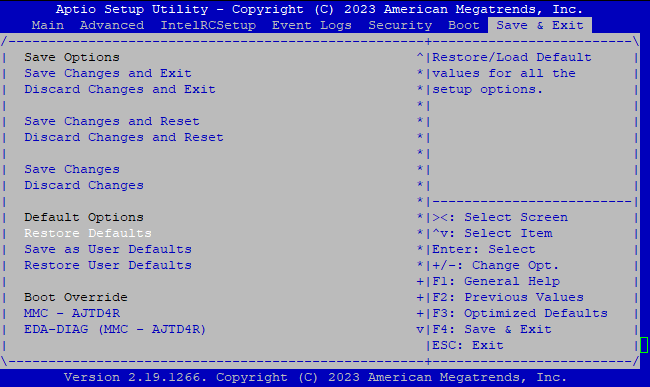
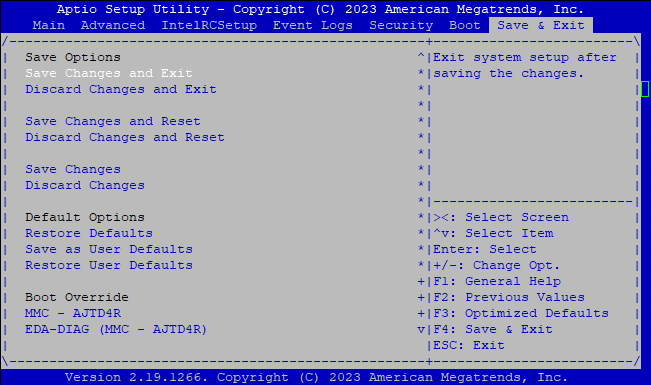
XXXXXXX!- On the Save & Exit tab do a Restore Defaults for good measure
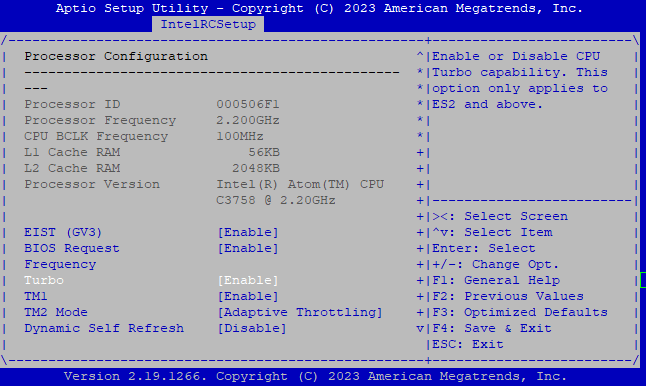
- On the IntelRCSetup tab enter Processor Configuration and Enable Turbo mode. I don’t know if this actually does anything with the CPU in the 640, but more turbo is always more better right?
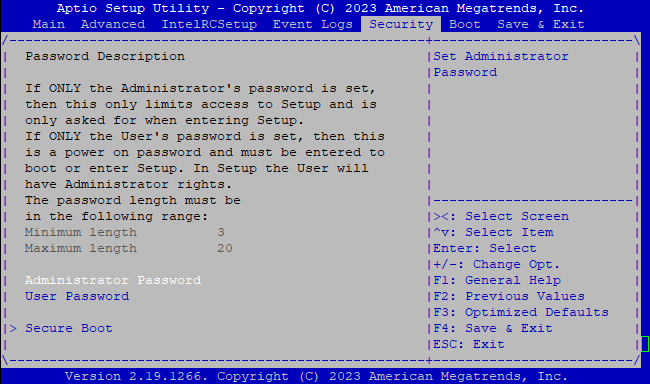
- On the Security tab remove or change the BIOS password. If there is already a password it’s likely the default (see above)
- On the Save & Exit tab do a Save Changes and Exit
- Download OPNsense select serial for the image type
The Velo 600 series is literally just a custom built computer with an Intel x86-64 CPU. You can install any OS you want. May people have posted that they installed Proxmox and virtualized their router as well
- Burn your image of choice to a USB drive with Rufus - your only option should be UEFI mode if you chose OPNsense, but if your image doesn’t force UEFI make sure to select it
- Boot from the USB disk and install your image to the 256GB SSD
- Go in to the BIOS and set the boot order if it still boots to DiagOS
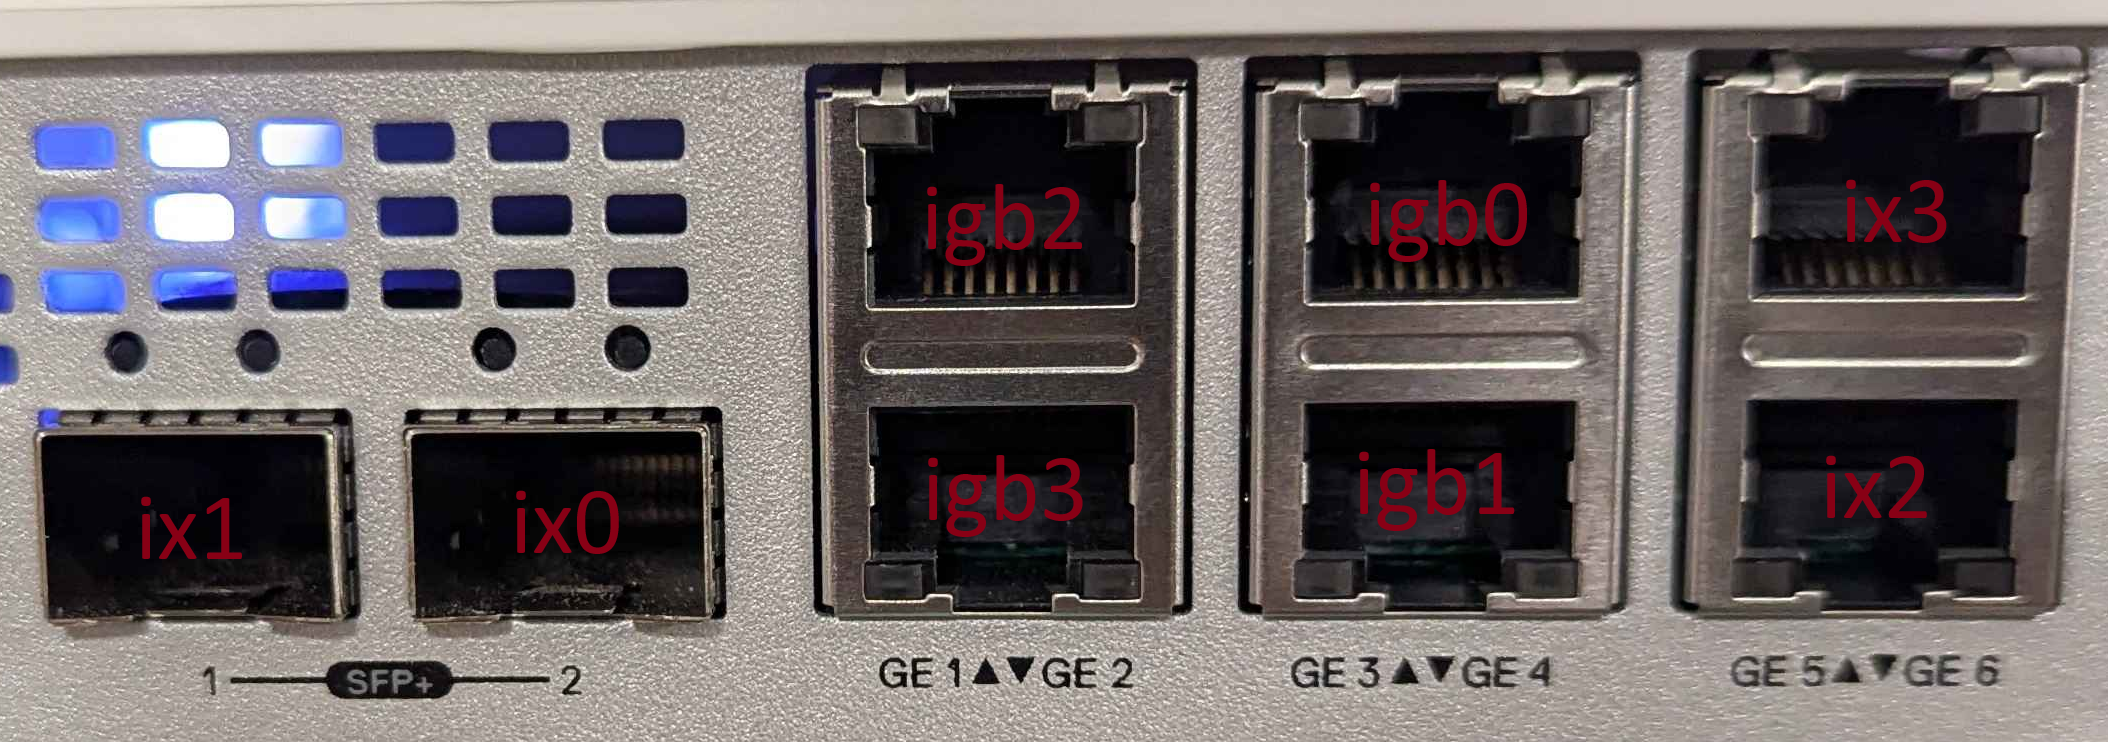
- In OPNsense when you assign the interfaces you should see these available
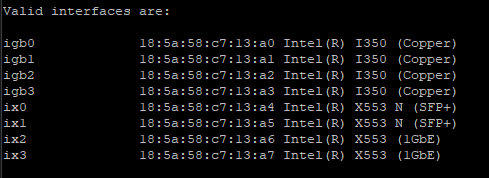
- Here is a map of the ports on the physical hardware. The order doesn’t really make sense
- If you do not have all of these interfaces follow the steps here to reset the BIOS
- Your Velo now has OPNsense (or your choice of OS) on it
